Cyber Home Lab
Building My Cybersecurity Detection Lab: A Journey into Network Defense
After working with smaller setups, I recently decided to level up my game by building a more comprehensive homelab. Let me walk you through what I’ve built and what I’ve learned along the way.
The first piece was implementing pfSense as my firewall. Network segmentation is critical for any serious security setup, and pfSense is free to use! Getting this right makes everything else possible.
Followed up with deploying Security Onion for intrusion detection and security monitoring. Nothing beats the feeling of seeing those first alerts pop up, knowing your monitoring system is catching potential threats in real-time. To keep things running smoothly, I set up an Ubuntu desktop that lets me manage Security Onion.
The real breakthrough came with integrating Splunk into the mix. Getting the Splunk forwarder running on my Domain Controller was a success, now I can pull in event logs from across my network. This is important because you’re able to dig through the logs and spot patterns that would be impossible to catch manually. The next phase involved bringing in Kali Linux as my attack machine, a couple of Windows desktops as target systems. This will create the perfect environment for testing both attack and defense scenarios.
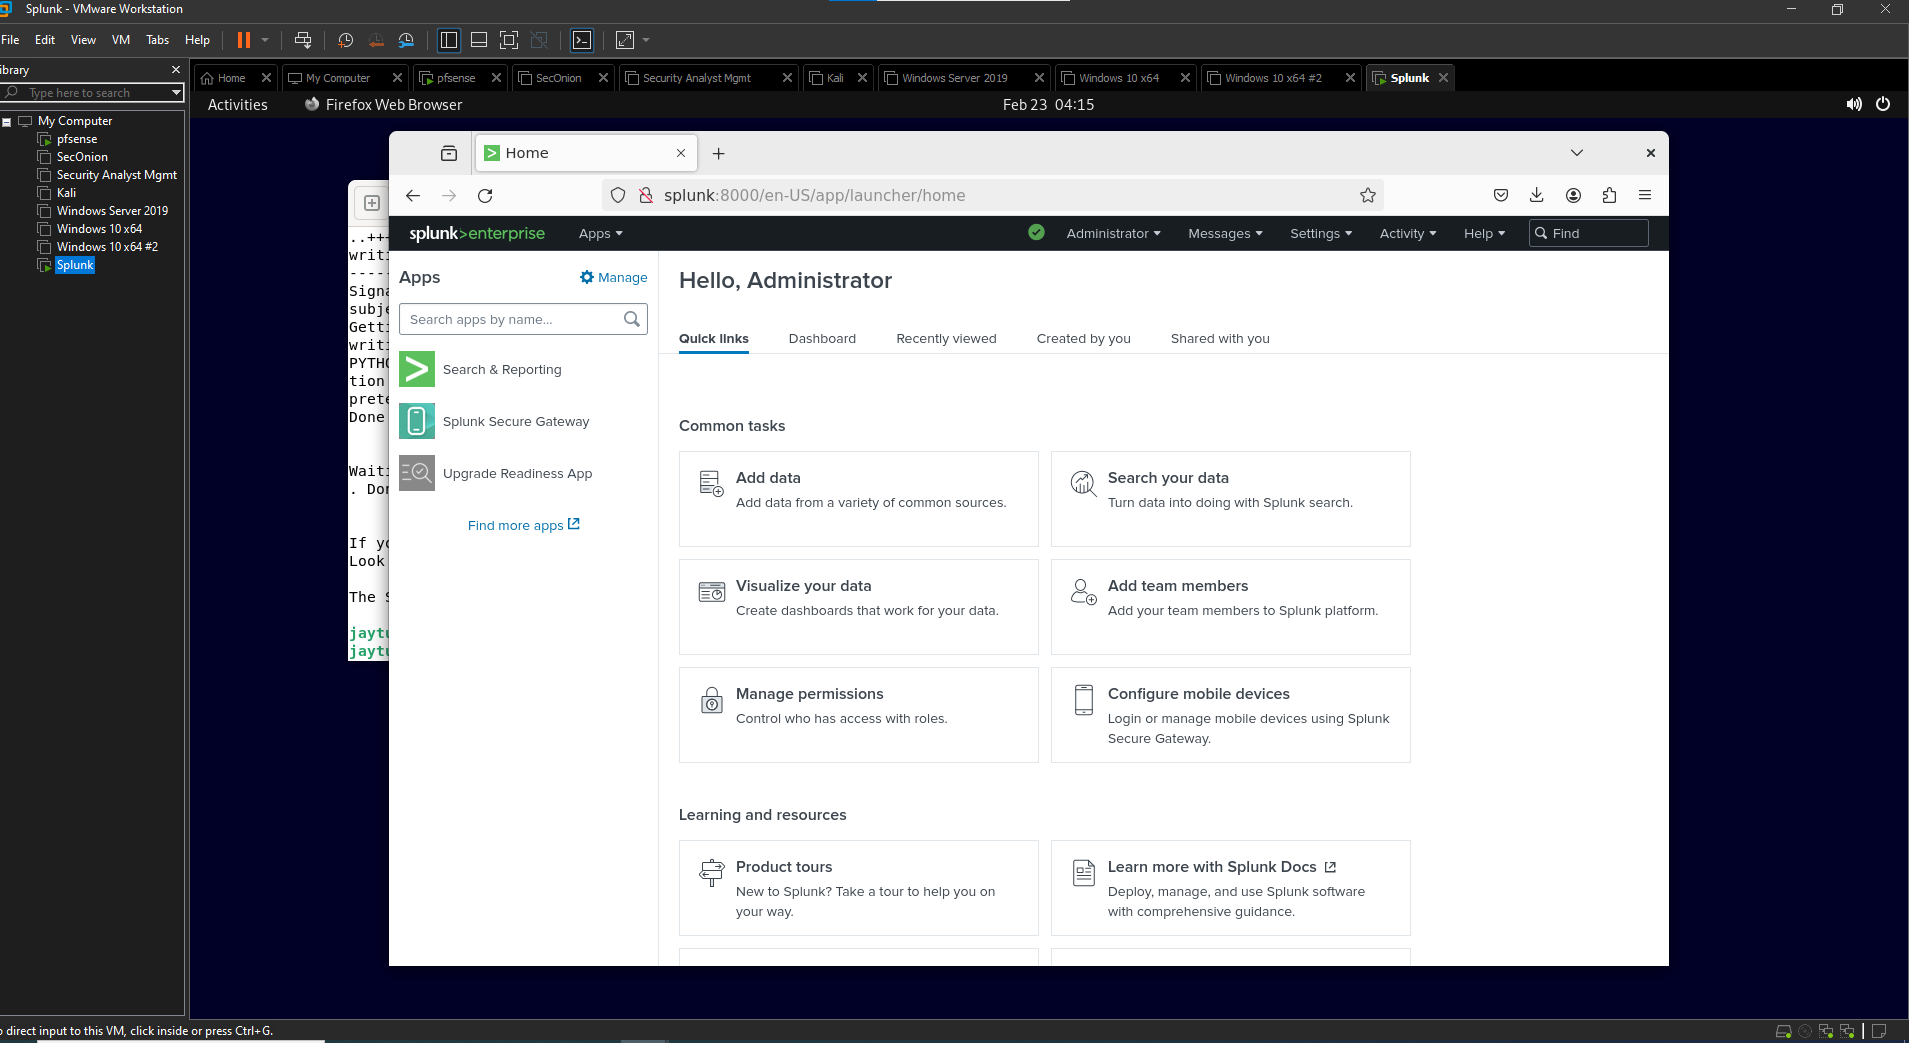 Splunk Setup
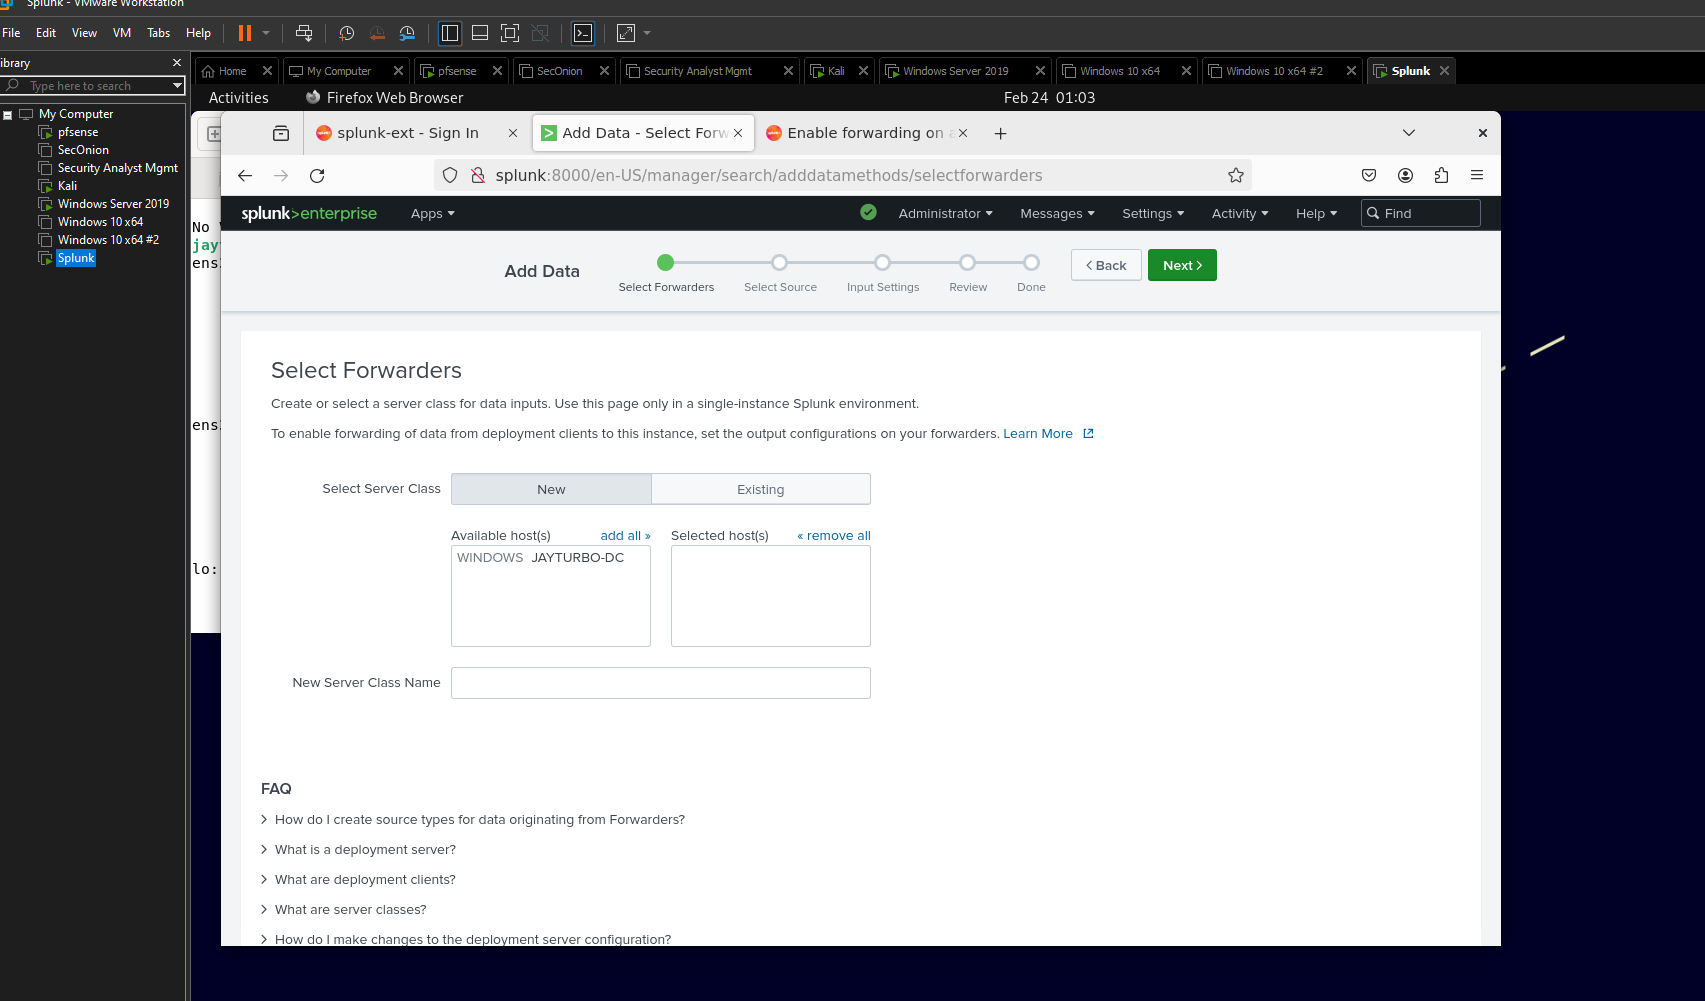 Splunk Forwarder
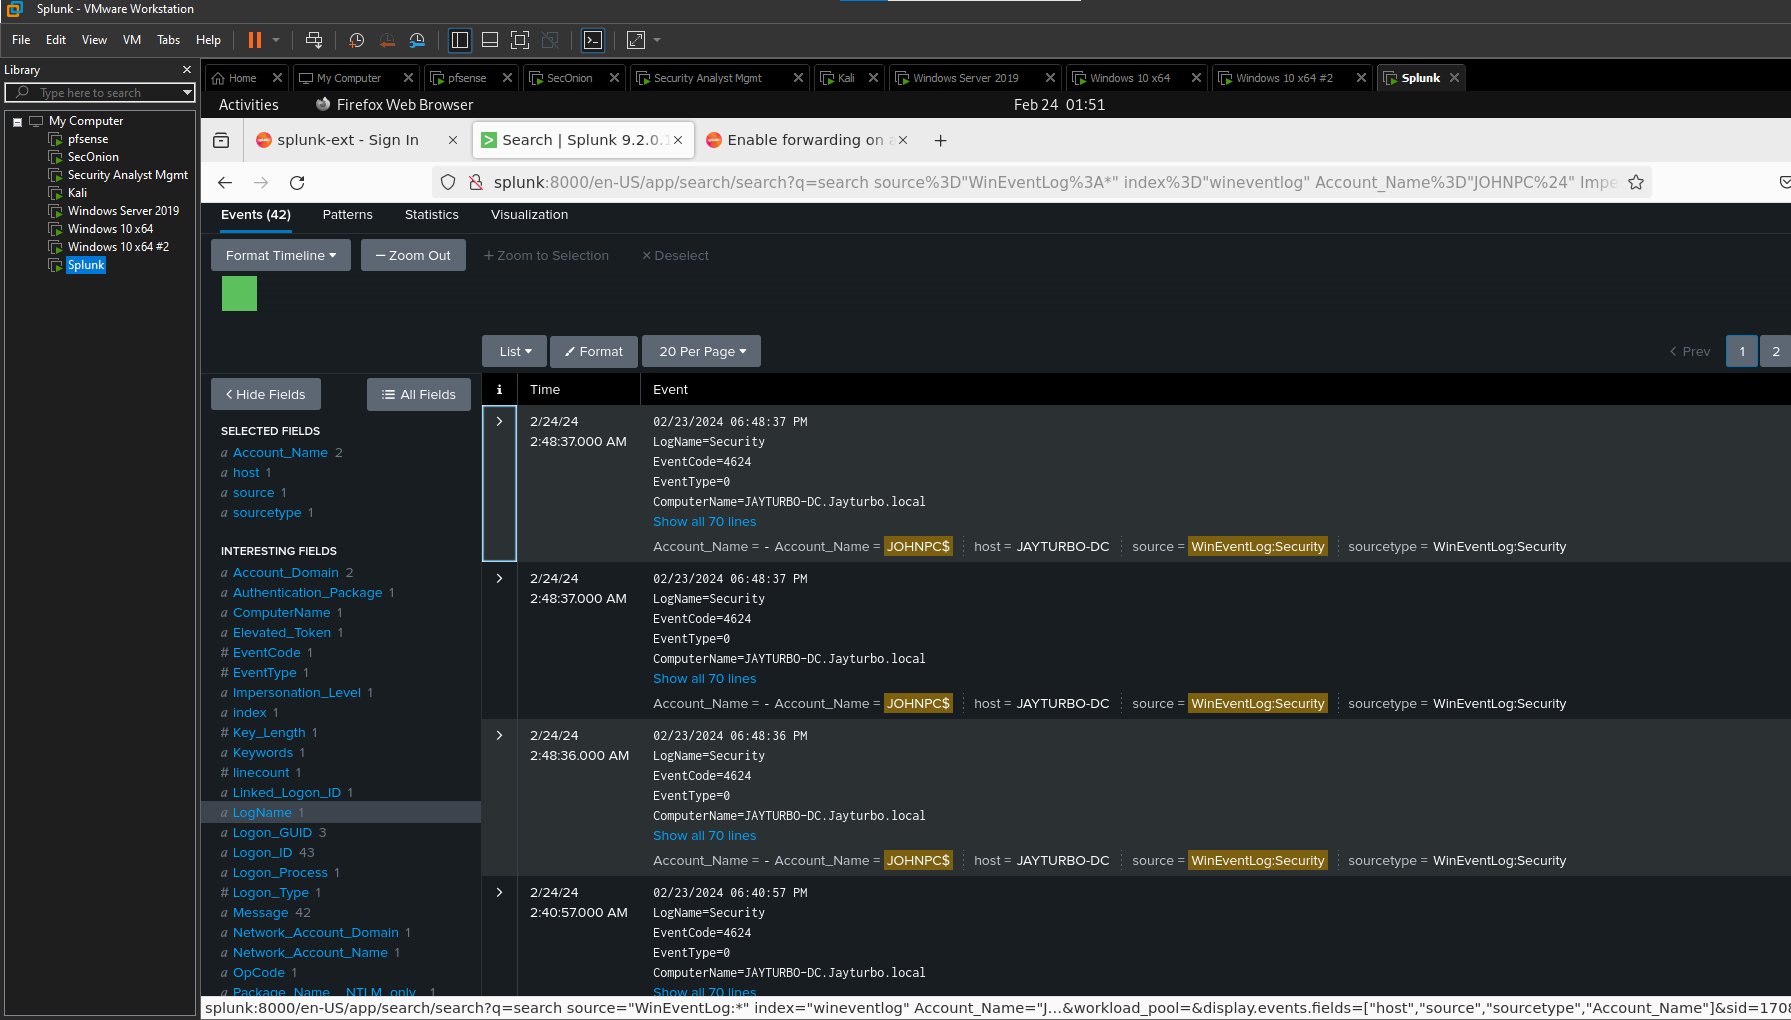 Splunk Logs
Conclusion
Looking back, this project has already taught me tons about network architecture, security monitoring, and log analysis. There’s something incredibly satisfying about seeing all these pieces work together, creating a mini version of what you’d find in an enterprise environment. Sure, there were some headaches along the way, anyone who says setting up a homelab is straightforward is probably lying! But each challenge solved is another lesson learned, and that’s exactly what this was about.